Directions
Why Choose Microwave Cooking for Broccoli?
Microwave cooking is an excellent method for preparing broccoli for several reasons:
- Nutrient Retention: The short cooking time allows broccoli to retain more vitamins and minerals.
- Speed and Efficiency: There’s no need to preheat the microwave, and it cooks evenly.
- Reduced Fat Use: This method is perfect for maintaining a balanced diet without excess fats.
Fundamental Steps for Preparing Broccoli
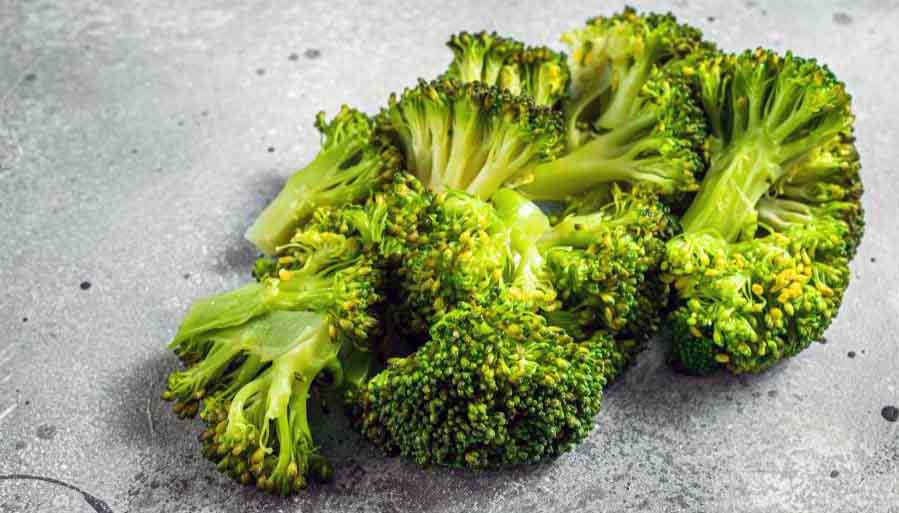
- Cleaning and Cutting: Start by rinsing the broccoli thoroughly under running water. Remove the leaves and cut off the main stalk. Break the broccoli into uniform florets to ensure even cooking.
- Necessary Tools: You will need:
- A microwave-safe container with a lid.
- A blender (for making the sauce).
- Measuring spoons for the ingredients.
Recipe for Flavorful Microwave Broccoli
Main Ingredients:
- Broccoli: 300 g
- Small Onion: 1
- Pitted Black Olives: 10
- Tomato: 1 (blanched, peeled, and deseeded)
- Garlic Clove: 1
- Balsamic Vinegar: 1 tablespoon
- Extra Virgin Olive Oil: 1 tablespoon
- Salt and Pepper: to taste
Step-by-Step Cooking Process
- Prepare the Onion: Finely chop the onion and place it in a microwave-safe bowl. Drizzle with a tablespoon of olive oil and sauté the onion in the microwave for 2-3 minutes at 650 Watts.
- Cook the Broccoli: Add the broccoli florets to the bowl along with 2 tablespoons of water. Cover and microwave for 8-10 minutes at 500 Watts. After cooking, let it rest for 2 minutes without removing the lid.
- Prepare the Flavorful Sauce: In a blender, combine the black olives, tomato, balsamic vinegar, and garlic. Blend until you achieve a smooth and creamy sauce.
- Season the Broccoli: Drain any excess water from the broccoli and pour the prepared sauce over it. Gently mix to ensure the seasoning is evenly distributed.
- Final Heating: Cover the bowl and microwave again for 2 minutes at 650 Watts. Allow it to rest for another 2 minutes before serving.
Tips for Perfect Cooking
- Adjust Cooking Times: If using a different amount of broccoli, modify the cooking time accordingly.
- Check Microwave Power: Make sure your microwave is set to the correct wattage as indicated in the recipe.
- Add Herbs: For an extra touch, sprinkle fresh parsley or chopped basil just before serving.
Nutritional Benefits of Broccoli
Broccoli is a true superfood. Here’s a summary of its health benefits:
- Vitamin C: Boosts the immune system.
- Fiber: Aids digestion and promotes a feeling of fullness.
- Antioxidants: Protect cells from oxidative stress.
- Calcium and Potassium: Essential for bone health and regulating blood pressure.
Recipe Variations
- Cheesy Broccoli: Add grated Parmesan or diced mozzarella after the second cooking step for a gooey texture.
- Spicy Broccoli: Enhance the sauce with chili powder or curry for a bolder flavor.
- Mediterranean Broccoli: Mix in capers and anchovies into the sauce for a Mediterranean twist.
Frequently Asked Questions
Can I microwave broccoli without water?
Yes, but it’s advisable to add a small amount of water to prevent the broccoli from drying out and to promote even cooking.
How should I store cooked broccoli?
Cooked broccoli can be stored in the refrigerator for 2-3 days in an airtight container. Before eating, reheat it in the microwave for 1-2 minutes.
This article offers a simple, nutritious approach to cooking broccoli in the microwave, preserving its taste and benefits while making mealtime quick and easy.


